Complete Guide to Using the Color Converter
Stage 1: Choosing the Right Reference Photo
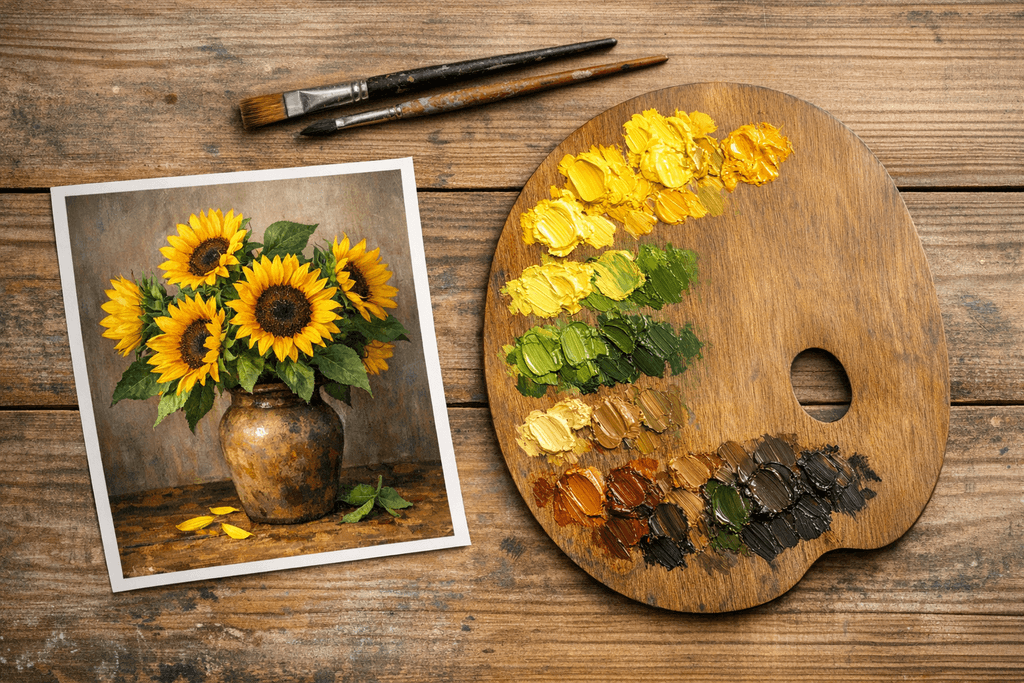
High quality reference photo with natural lighting for color extraction
Not all photos work equally well for color extraction. For best results, use images with:
- Natural lighting – Avoid harsh flash or extreme shadows that distort colors
- High resolution – Minimum 1200px width for accurate color sampling from individual areas
- Good color balance – Not overly warm (yellow-tinted) or cool (blue-tinted) unless intentional
- Clear subjects – Avoid blurry or low-quality phone photos taken in poor light
If you're working from a printed photo, scan it at 300 DPI or higher to preserve color accuracy. Modern phone photos work excellently if taken in good natural daylight. Avoid heavily filtered Instagram images or photos with applied color effects, as these adjustments will affect the extracted palette and lead you astray when mixing physical paints.
Stage 2: Select Your Image
Click the "Select Image" button and choose your reference photo. Supported formats include JPG, PNG, and WebP.
Your image file stays in your browser. Only extracted color values are sent to generate mixing recipes.
Once selected, you'll see a preview of your image. You can replace it at any time by clicking the button again.
Key Milestones
- Image successfully loaded and displayed
- Color values extracted for recipe generation
Stage 3: Analyze the Colors
Once uploaded, our color analysis algorithm examines every pixel in your image. It identifies dominant colors (those that appear most frequently) and accent colors (smaller but important color notes).
The tool uses k-means clustering to group similar hues together, then maps these digital RGB values to real paint pigments based on spectral reflectance data from major manufacturers.
This process typically takes just a few seconds, even for high-resolution images.
Key Milestones
- K-means clustering identifies color groups
- RGB values mapped to real pigments
Stage 4: Review Your Palette
The tool displays 8 key colors extracted from your image, each with a specific mixing formula. These formulas show exact proportions of paint colors you'll need.
For example: "60% Cadmium Yellow Medium + 30% Titanium White + 10% Yellow Ochre" means you'll mix these three paints in a 6:3:1 ratio.
Each color swatch is clickable for more detailed mixing instructions and pigment information.
Stage 5: Understanding Color Swatches
Each color swatch shows both the digital color extracted from your photo and the closest achievable mix using traditional oil paints.
Note that oil paints use subtractive color mixing (mixing pigments reduces light reflection), which differs fundamentally from the RGB additive mixing your screen uses.
Some highly saturated digital colors may require adjustment when translated to physical pigments. The tool indicates when a color is outside the achievable gamut.
Stage 6: Save or Print Your Palette
Use the download option to save your palette as a reference. Many artists print these palettes and keep them in their studios, taping them to their easels during painting sessions.
This ensures color consistency across multiple sessions, especially important for large paintings that take weeks to complete.
You can also share your palette digitally or revisit it later by saving the image file.
Key Milestones
- Palette saved for studio reference
- Consistent colors across sessions